
Professionally made YouTube videos are crafted, recorded and edited in a way that compels viewers to watch the video in its entirety, and leaves viewers wanting for more.
Are you a business owner interested in using a YouTube channel to grow your business? Don’t worry, you don’t have to hire a full production studio to create a successful video for your business, but you should create a video that looks professional. Follow these
5 Tips Beginners Need to Record a Professional YouTube Video
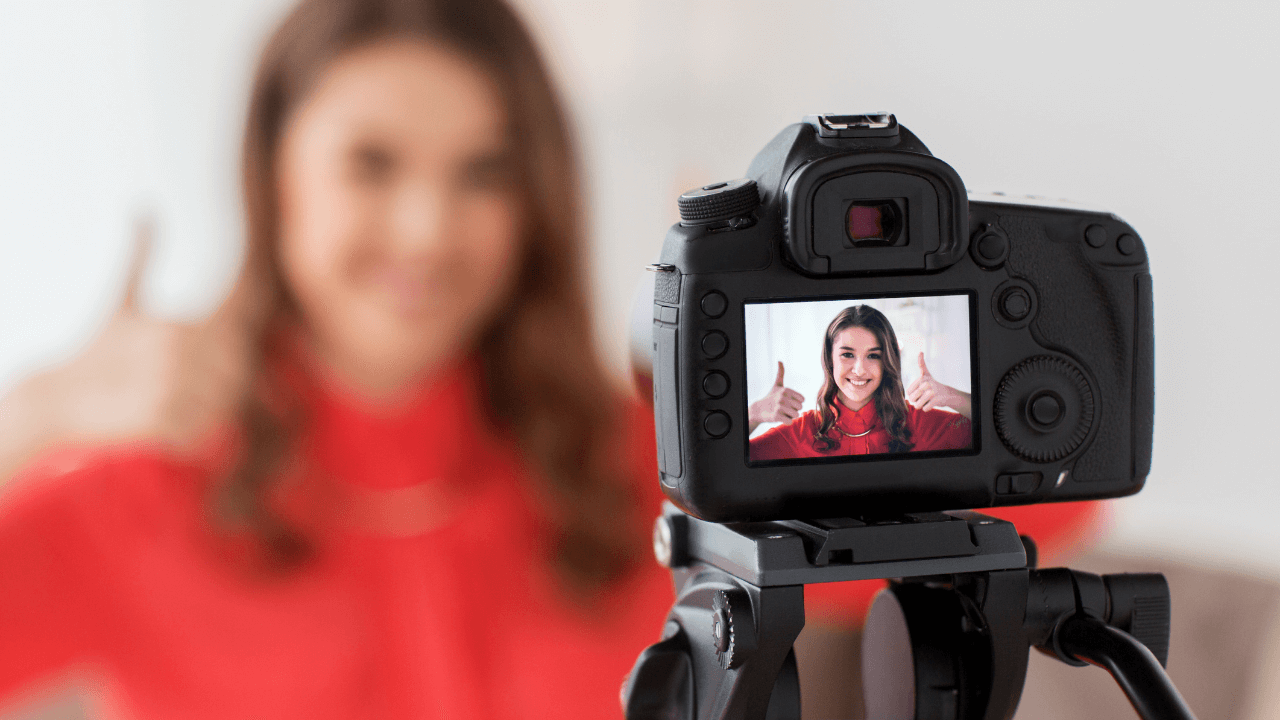
1. Use a high-quality camera.
The iPhone works great. If you are recording this video by yourself, no problem. Put the iPhone on a tripod and point it toward the area where you will be filming. Plan where you will be sitting and adjust the camera, i.e. up or down, right or left, accordingly so you are centered. Once you are in your spot, be sure to do a test-run. Hit record either by standing up, or with a remote (a remote is included in the tripod recommended below). Review the video for aesthetics, and then make adjustments to either the camera and tripod or your setup area as needed.
And yes, I agree with Ben Aqua, a reliable tech reviewer on YouTube. The recent iPhones are better cameras than most webcams available now, including the Logitech Brio, which is one of the most popular webcams on the market in 2022. Ben compares the two cameras here.
Suggested equipment:
- The most recent version of the iPhone you can source, because we all know the newer the iPhone the better the camera
- An AdjustableTripod. When you have an adjustable tripod, you can set it on your desk or the floor, or anywhere that deems fit. The iPhone can be “held” vertically or horizontally. For YouTube, record your video landscape, i.e. horizontally, but it is nice to have the option to record vertically if you want to create footage for another platform.
2. Use a good microphone.
While the iPhone has a fabulous camera, the microphone still lacks a little to be desired, especially if you are going to have the camera further than one foot away from you- which almost all of us YouTubers would prefer. I use the Audio Technica AT2005USB for both YouTube videos and podcast recordings with a lightning/USB adapter.
To ensure that my battery isn’t drained before I finish recording my YouTube video, I actually use this two-prong adapter, which costs $10 more than the other, but allows me to connect both the iPhone and a power source to my iPhone.
3. Record with natural light.
My friend who was a weeknight anchor for over 20 years told me you can never have too much light in a video! The best light is indirect, natural light with zero shadows, which can sometimes be hard to find. When I started my YouTube channel that wasn’t the case for me… There were plenty of spots in my yard and around my neighborhood that received great indirect light, without shadows. If you check out my first 12 or so videos on my channel you will see that I shot all of them outside! I loved having to deal with less equipment, but when I was tired of having to reschedule my shoot every time it rained I invested in lights.
Ring lights do work well, but I have not found one of great quality. Thankfully they aren’t too expensive, BUT it can get annoying having to re-order until you find one you love. For that reason, I recommend this set of two LED lights. All you have to do is, adjust the tripods to the correct height and angle, and face one toward you from your left, and one toward you from your right. For best results, have the light from the ceiling on too.
If you are interested in finding portable lighting options, or smaller light sources, don’t forget to consider these features when doing your light research, as suggested by Digital Camera World.
Power supply: Can the LED be used by both a main plug and a battery? This will enable a more versatile set-up and enable you to film both indoors and outdoors.
Color temperature: Look out for the LED’s color temperature range; a wide range is preferable as this will give you both warm and cool light options to match the ambient light you are shooting in, or the effect you’re trying to create.
Modifiers: Check to see if the LED comes with any modifiers in the box. These could be diffusers to soften the light, or filters to change the light’s color temperature.
Flicker-free: Some LED’s show a fluctuation in brightness, known as flicker. The best lights are flicker-free to provide a constant level of brightness.
Bluetooth technology: The inclusion of Bluetooth technology in your LED light will allow you to connect to a smartphone and control adjustments like brightness and color temperature remotely.
4. Deliver confidently and concisely.
Honestly, I believe confidence comes from repetition and experience, thus by my definition a beginner on YouTube could not be confident because they lack the experience, right?
A new YouTuber might be courageous, which often reads like confidence, which is great for those that are able to act with courage and record a fabulous video without stuttering or feat right out of the gate.
But never fear, I have a recording style suggestion that requires neither confidence or courage, but will allow you to produce a video where you look like you are super confident! Your delivery must be both very informative with insights into your depth of knowledge of your subject, and no added fillers like, “um” and “uh”.
My suggestion is to record in bite size chunks! Outline your entire video, which does not mean write the video out word for word. See my previous blog post that will teach you the ultimate outline for your first YouTube video.
Then, get your camera, microphone and lights set up! After this, practice your introduction, meaning, READ IT ALOUD, almost memorizing what you want to say. When you are comfortable you’ve got that part down, hit record and just record the opening segment. Now repeat, recording each small section of your video until you reach the end.
“Memorizing” an entire YouTube video script would be very time consuming, and could also make you sound uptight, unnatural and for sure unconfident. The chunk recording method really cuts down on production time, PLUS it allows the YouTuber to seem more confident because it’s easier to just remember little bits of what you plan to say, and that ease translates to confidence on the screen.
5. Edit your video.
If I’m being honest, when I was consistently sharing weekly videos on YouTube, I preferred to invest money instead of time into the editing of my videos. So, I hired a fabulous freelance video editor who put together all of my video chunks, and added all of the bells and whistles to create my final product.
When I received the final product from my editor, I optimized and uploaded the video to my YouTube channel to save on costs. To learn more about how the editing and uploading process worked for me, stay tuned to this blog. Over the next two weeks I will publish the following articles
- How to Find and Work with an Editor for Your YouTube video, an interview with my Editor, Martina Milhoc
- How to Upload and Optimize your video for YouTube Search so Your Future Clients/Customers will Find You
Would you rather give the editing a go yourself because you are some sort of technology genius or are just determined to make this happen without hiring out? Don’t worry, I get it, and I’m proud of you for taking this on- go you!
Here are some editing basics you should make use of:
- Trim the footage at the start and at the end of every video before stringing them together.
- Cut any extra fumbles, or mistakes out of the video.
- Add text to make your video more eye-catching. You can even add your social media handles for more exposure.
- Add a thumbnail and an end card. The end card would be a good place to add your video Call To Action, too. (See Call To Action in our video script blog post here.)
- Add subtitles since a lot of people watch videos on mute, adding subtitles would be wise, PLUS they are great for optimizing the video for SEO. I use and love rev.com for creating subtitles for my video.
- Add music. Some video editing apps come with a library of music and sound, if you’d prefer to upload your own track, you can do that as well, just make sure it is licensed for YouTube.
Check out these video editing apps recommended by here.
I hope these tips allow you to feel confident when you decide to start recording and editing your YouTube videos! Be sure to stay tuned for more YouTube related blogs!
I’m Meredith
We create BIG value for business owners by connecting them with their ideal customers and clients using creative, strategic and authentic digital advertisements.


