
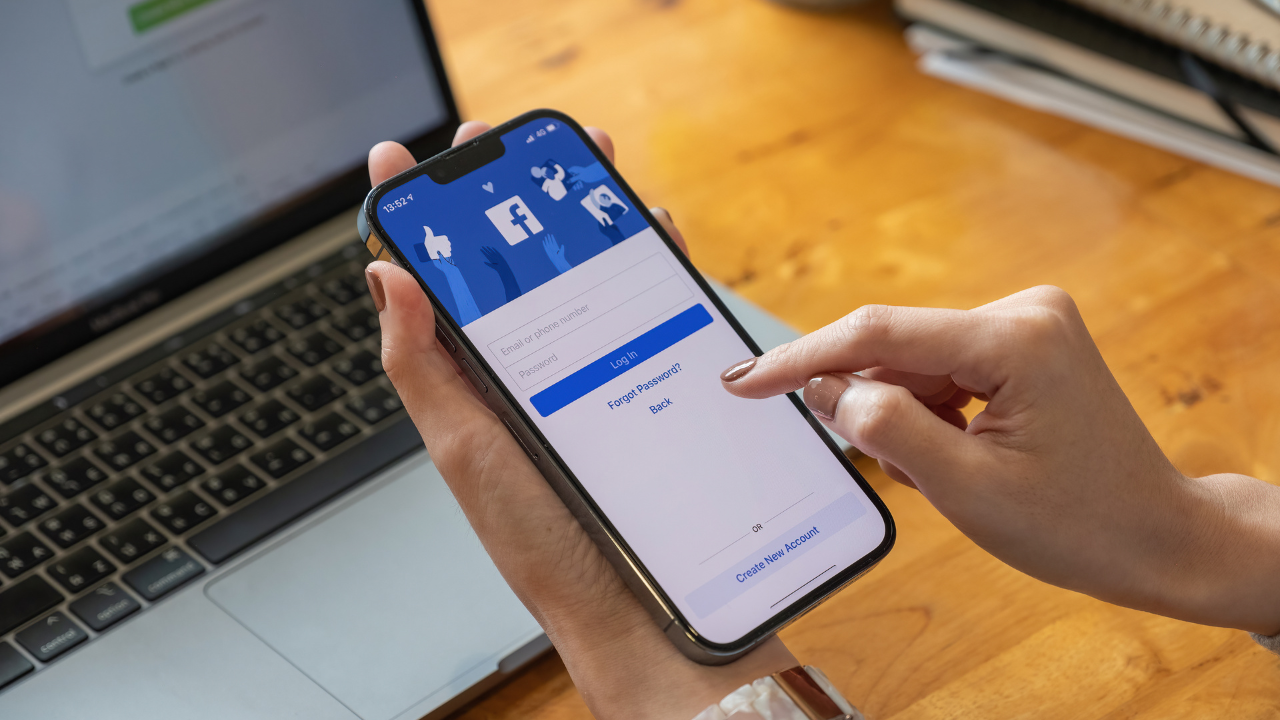
A Step-by-Step Guide to installing the Facebook Pixel on Your Website in 2022
In order to optimize the results of your Facebook and Instagram Ad campaigns in 2022 and properly use Facebook’s Business Manager, you must install the Facebook pixel on your website. Follow the step-by-step guidance in this blog article to properly install your pixel.
Note, in order to create a Facebook pixel you must have both a free Facebook Business Manager Account and Facebook Ads Account. If you already have both of these accounts, skip to Step 3.
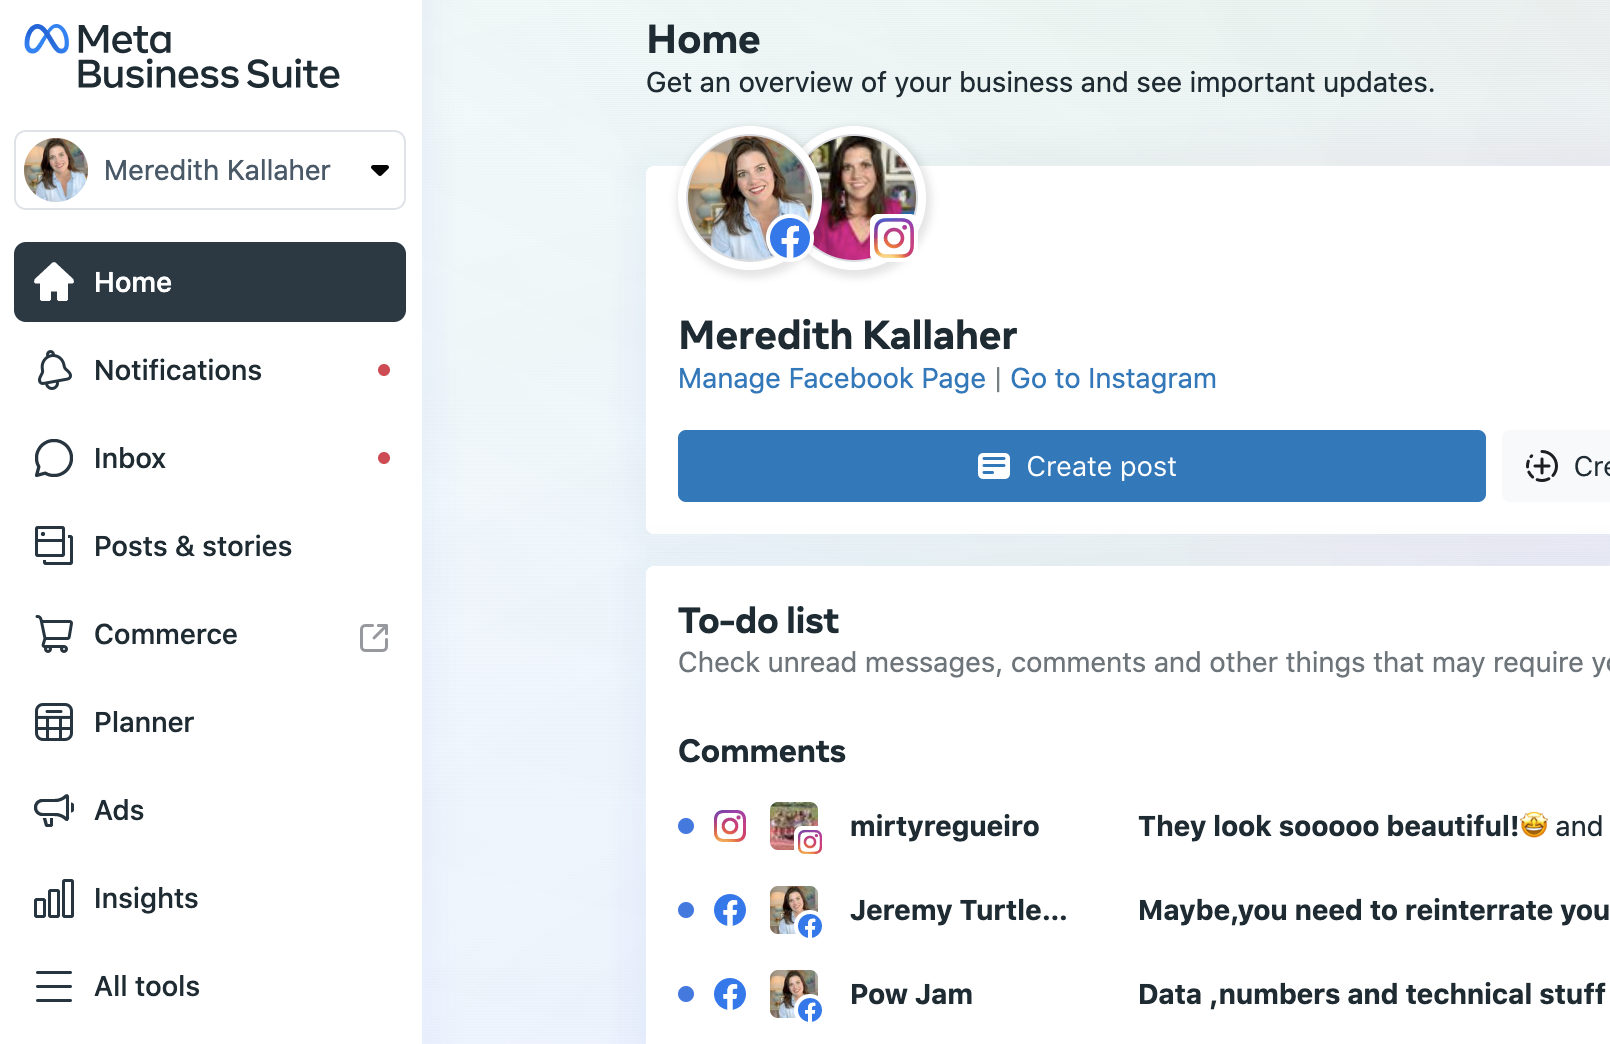
1. Create a Business Manager Account
Begin by creating a Business Manager account on Facebook by following their instructions to do so by clicking here.
2. Create Your Facebook Ad Account
Next, create a Facebook Ads account by following Facebook’s instructions here
3. Verify Your Business Domain in Business Manager
Verifying your business domain became a required part of running Facebook and Instagram Ads in early 2021. If you have not used ads since then, or you do not remember the last time you used your ad account, OR your ad account is brand new, you have probably not verified your domain.. so it is worth following these steps to make sure that is done.
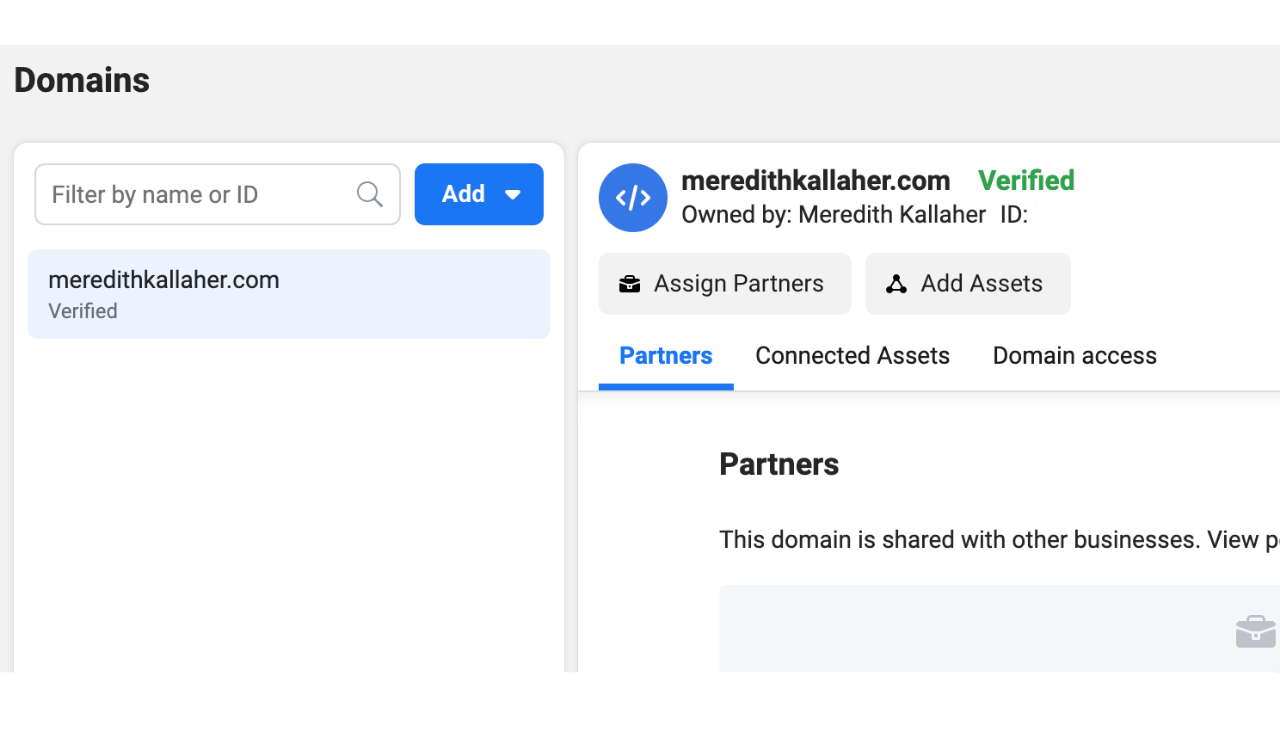
In “More Business Settings” find the tab “Domains” under the “Brand Safety” Setting. Facebook gives us 3 options to verify our domain. See their instructions and those options here.
In my experience, adding a TXT entry to my DNS record was an easy way to verify my domain. TIP: Your DNS records are almost always located on the website where you purchased your Domain Name, i.e. Go, Daddy, Google, Name Cheap. Note: Facebook says it could take up to 72 hours for your domain to be verified but that has not been my experience. The verification process happened in less than one hour.
4. Create Your Pixel.
If you already have a Pixel in the Business Manager, just use that one and skip this step. ( The fewer pixels that you have the better because you can not delete a pixel).
- Inside Events Manager, click on data sources and click on pixels. Click “Add” and then give your Pixel a name (you can edit the name later). May I suggest “Facebook Pixel 2022,” so you know the year it was created, and then click “Continue”
- Add the people you want to have access to your pixel, by clicking “Add People.” Start with yourself, and give yourself full access., then add anyone who will work on your Ad Campaigns.
- Add assets to your pixel. Select the Ad Account you will use to run your Ad Campaigns.
5. Install the Pixel on your Website.
- Click on Continue Pixel Set-up from inside Events Manager.
- If you see the platform you use to host your website listed as one of Facebook’s partners, i.e. Squarespace, WordPress, or Shopify, then select this option and follow Facebook’s instructions to install on your website via their integrated method.
- Or, select Manually Install Code and keep following the steps I describe here.
- Click on Copy Code and copy the Pixel code into the “Header Section” of your website host. Note code should be placed at the bottom of the header section just above the closing head tag. Use the instructions provided by your website host, to make sure that the header section you located and your pasted pixel code apply that code to “universally”, meaning every page of your website. If there is no option to apply the pixel code universally to your website make sure to apply the code to the page on your website where people will land when they come from your Facebook Ad, i.e. the “landing page,” AND the thank you page related to the landing page if you have created a related thank you page.
- Hit “Save”, and/or “Publish” on your website host to activate your Pixel.
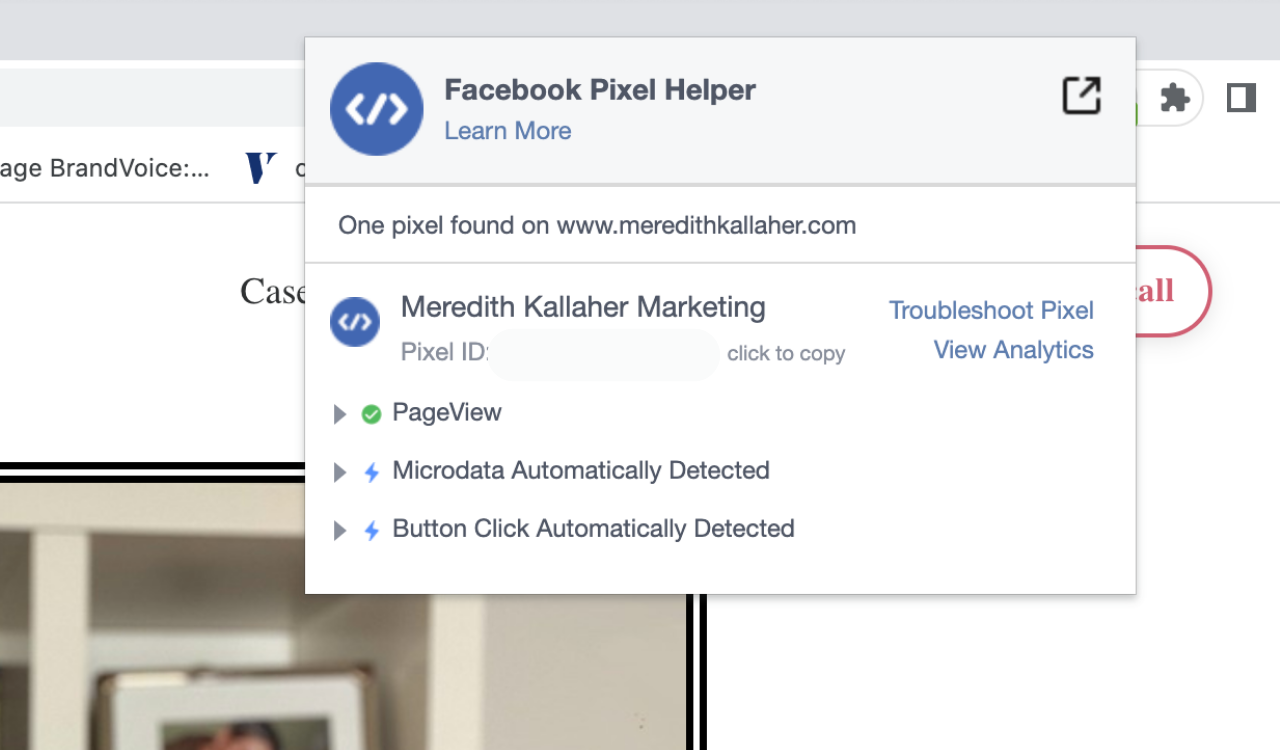
- In order to make sure that your pixel has been properly installed on your website, Install the Google Chrome Extension “Facebook Pixel Helper” found here. Open your website and the Pixel Helper will show you if the Pixel is active on your website, as shown in the next image.
-
6. Set up a Facebook Event
If your ad directs Facebook or Instagram users to take action on your website, i.e. enter their email address and/or phone number in exchange for a “freebie,” sign-up for an event, OR buy something; then you need to add Facebook Event Code to your website, in addition to the pixel code, so that Ads Manager can track those Events. Note that this code only needs to be added to the page(s) involved in this event. So if your ad directs Facebook users to a landing page where you invite them to enter their name and email address in exchange for a Free PDF, then you need to place the related Event code on both the Landing Page and the Thank You, Page.
I use the Lead Event when my goal is to collect email addresses for potential clients in exchange for any type of Free Value, and I suggest you do the same. Follow the steps to use Facebook’s Event Set-up tool, and set up your Lead Event here.
Setting up Facebook Business Manager is a business must if you are looking to optimize your ad campaign results on Facebook and Instagram.
** If you would like to see a video walkthrough of Setting up Your Pixel, Verifying your domain, and setting up your Facebook Events, check out Ivan Mana’s video here
Meredith Kallaher helps small business owners Expand Their Reach and Explode Their Sales with
Facebook and Instagram Advertising Strategy and Management.
Learn How Meredith Can Help You Build Your Business and Exceed Your Sales Goals. Book a FREE DISCOVERY CALL Today.
I’m Meredith
We create BIG value for business owners by connecting them with their ideal customers and clients using creative, strategic and authentic digital advertisements.


